Set up Access Control Using CarrierX Portal
There can be various reasons why you would want to use access control rules.
For example, you can apply the access control rules to outbound communications to prevent either calling or sending text messages to specific (e.g., paid) numbers. Or you can allow sending calls to one phone number only and rejecting the calls to all other phone numbers. Or you want to disallow sending (or receiving) all text messages which contain a certain text.
In this article, we will create access control rules to block all the voice calls to the phone numbers starting with 18807, but allow the voice calls to any other numbers. At the same time, the rules will allow sending text messages to the 15059983793 phone number and block sending text messages to any other numbers.
First, we need to create access control rules that will hold these settings. Then, we will associate the created rules with the access control lists and apply the voice-related lists to the account, and SMS-related lists to the trunk group.
Terms Used
We will use the following abbreviated terms throughout this article:
- ACR
- Access Control Rule, the rules used to form access control lists which can be associated with either an account or a trunk group.
- ACL
- Access Control List, the lists formed from the rules, their direction, and type of call (voice or SMS) to which they will be applied. Sometimes we use this abbreviation as an acronym and pronounce it like
[ækl].
I. Create Access Control Rules
In this section, we will create access control rules (ACRs) through the portal.
We create the rules on the account level. Later, you will be able to use them with ACLs on either account or trunk group levels.
- Register with CarrierX to access the API and CarrierX portal.
- Rent a phone number from CarrierX which you will use with the created access control rules later.
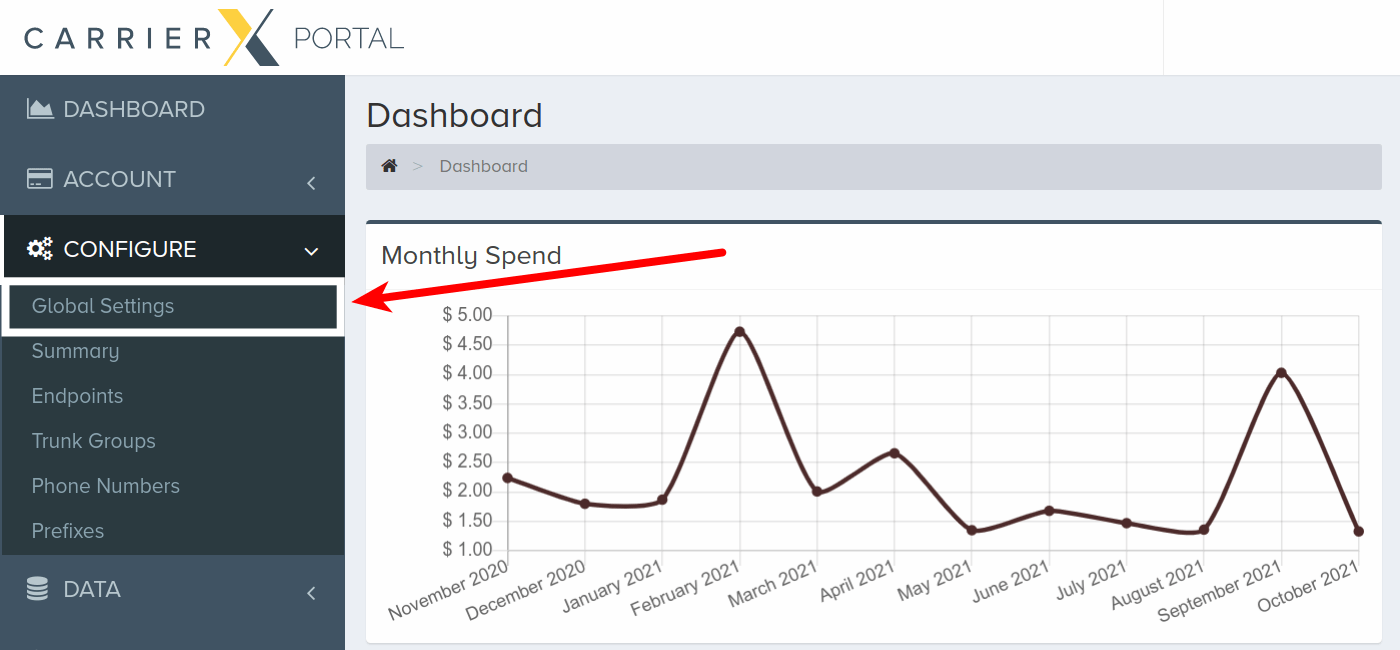
To create ACRs, log into your CarrierX account. On the left-side menu, locate and click the Configure menu. Click Global Settings.
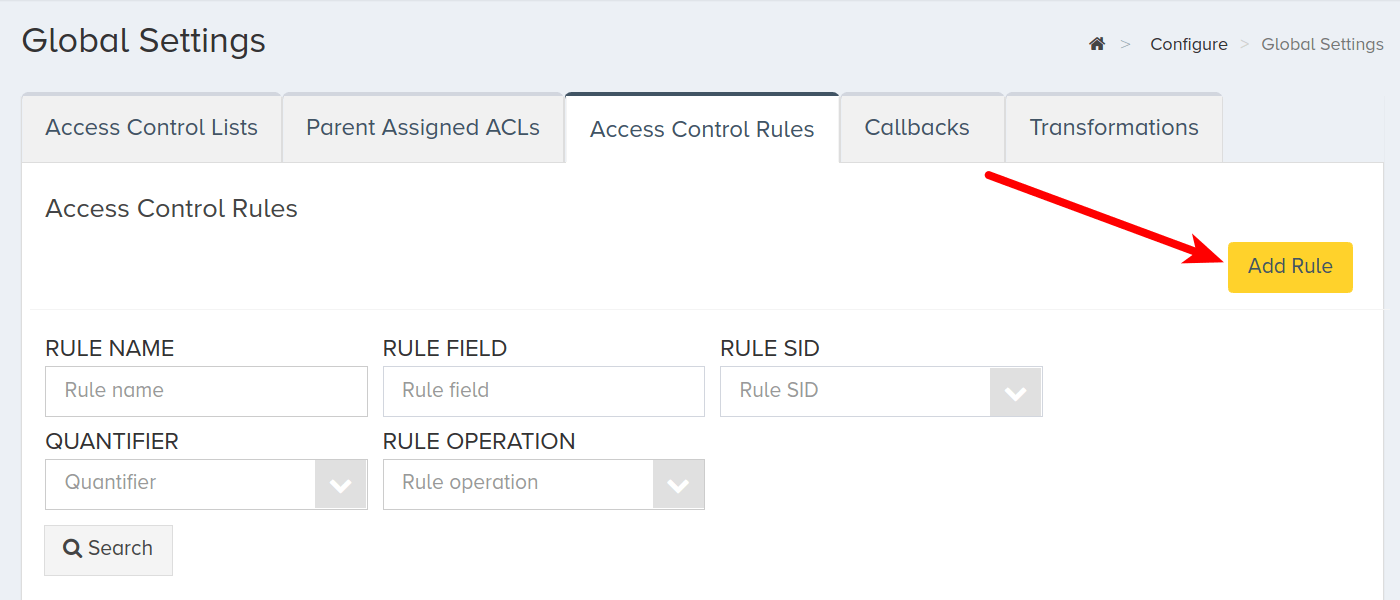
Select the Access Control Rules tab.

Click Add Rule.
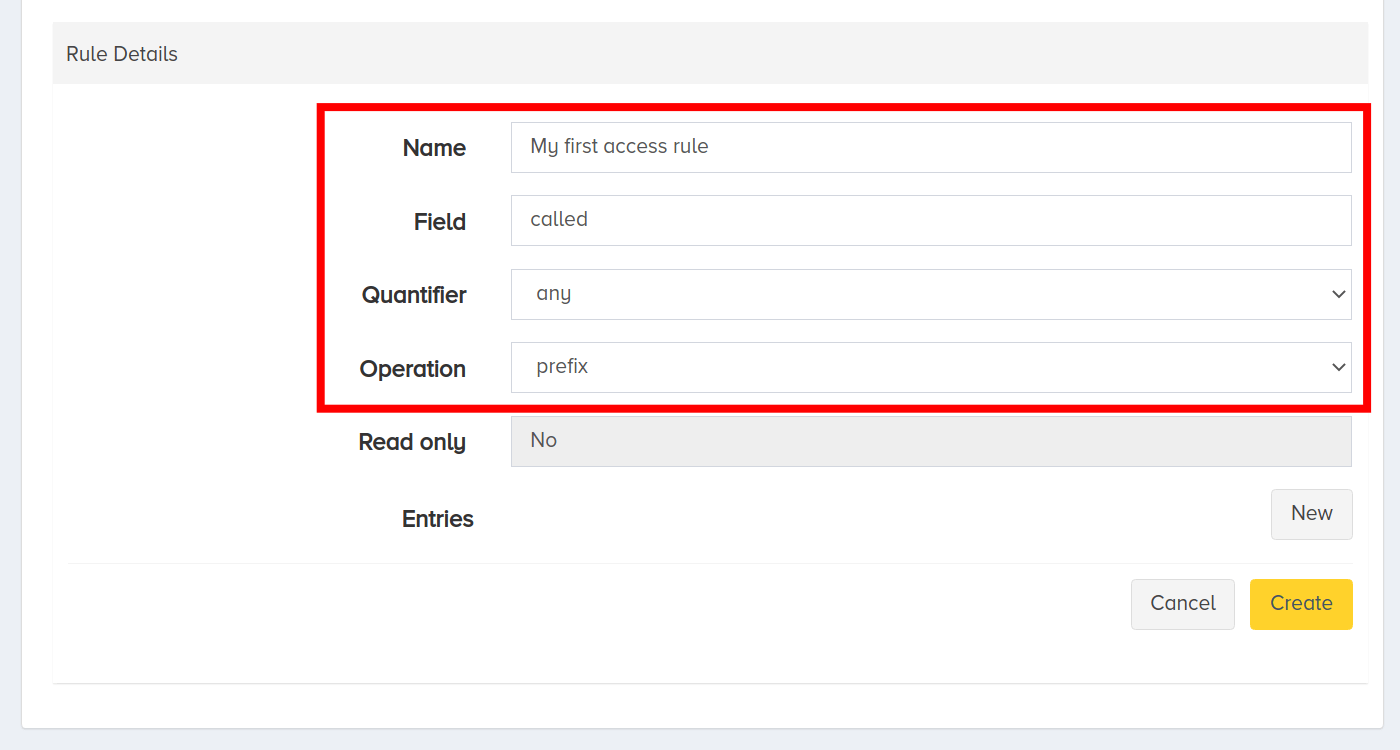
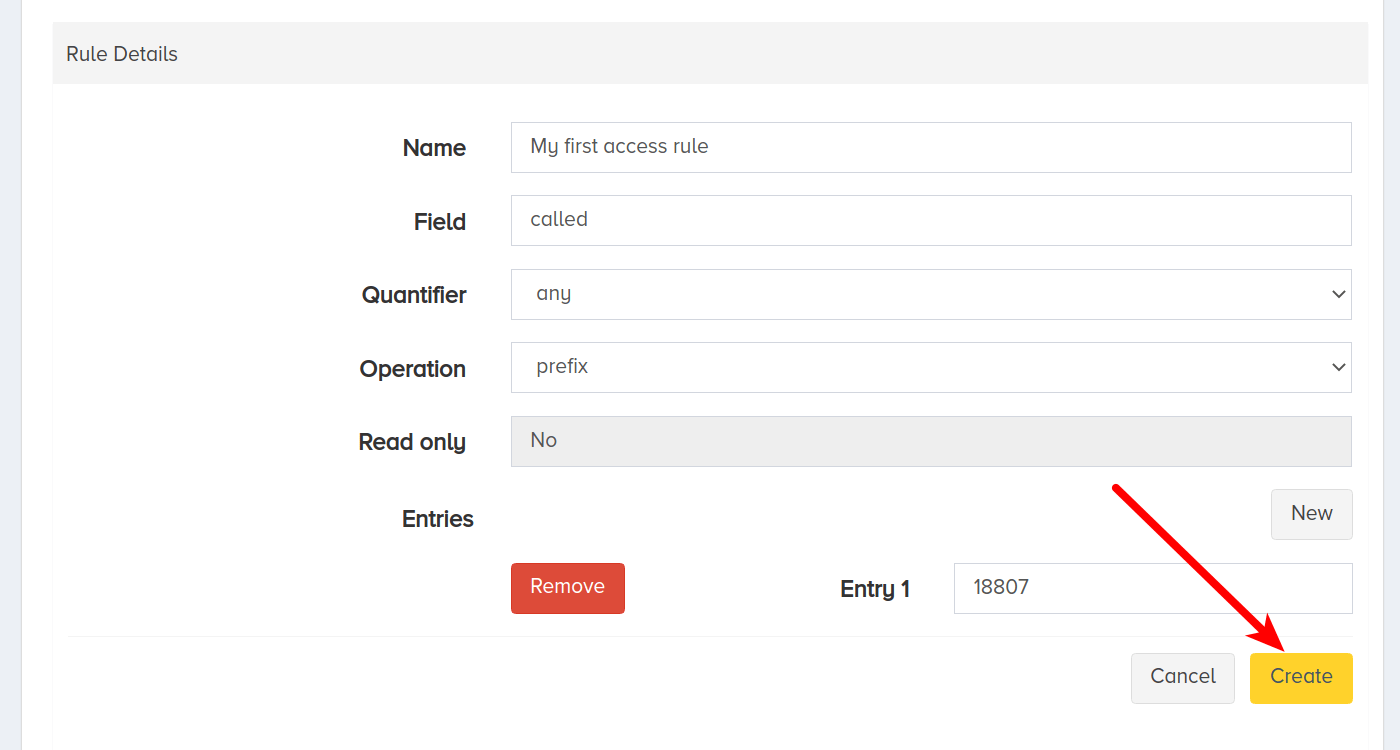
Fill in the following ACR fields:
-
Enter a name for the new ACR. This is a friendly name that is used for internal reference and helps you find the rule when you need that.
-
Next, enter the Field that the system will take into account when applying this rule. In our case, it will be
called, as we want to block calling the numbers starting with18807. -
Set the Quantifier field selecting the
anyvalue. This will mean that if the call details match any of the entries (in our case there will be only one entry,18807) -
Set the Operation field selecting the
prefixvalue. This will mean that the entry should match only the part at the beginning of the phone number.
Add an Entry, clicking New and entering the prefix for the phone numbers we want to block (18807).
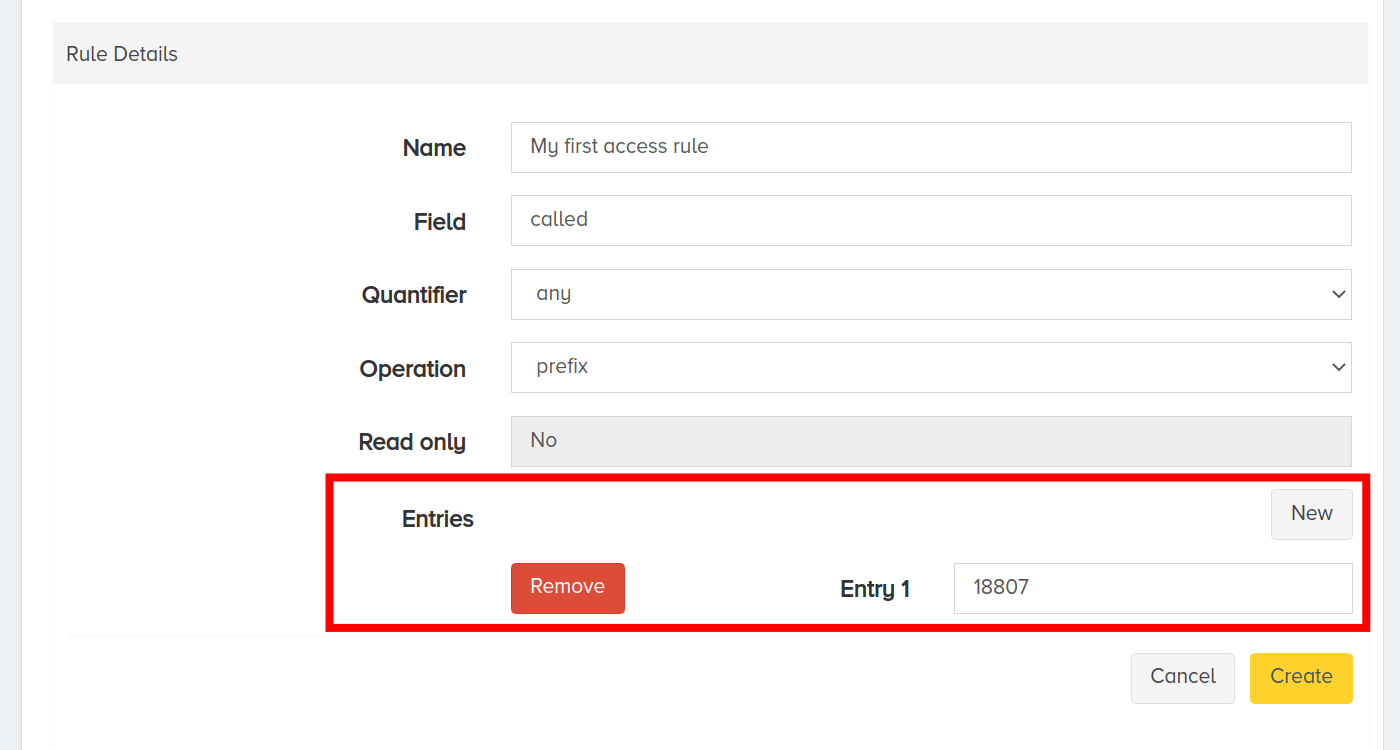
When ready, click Create.
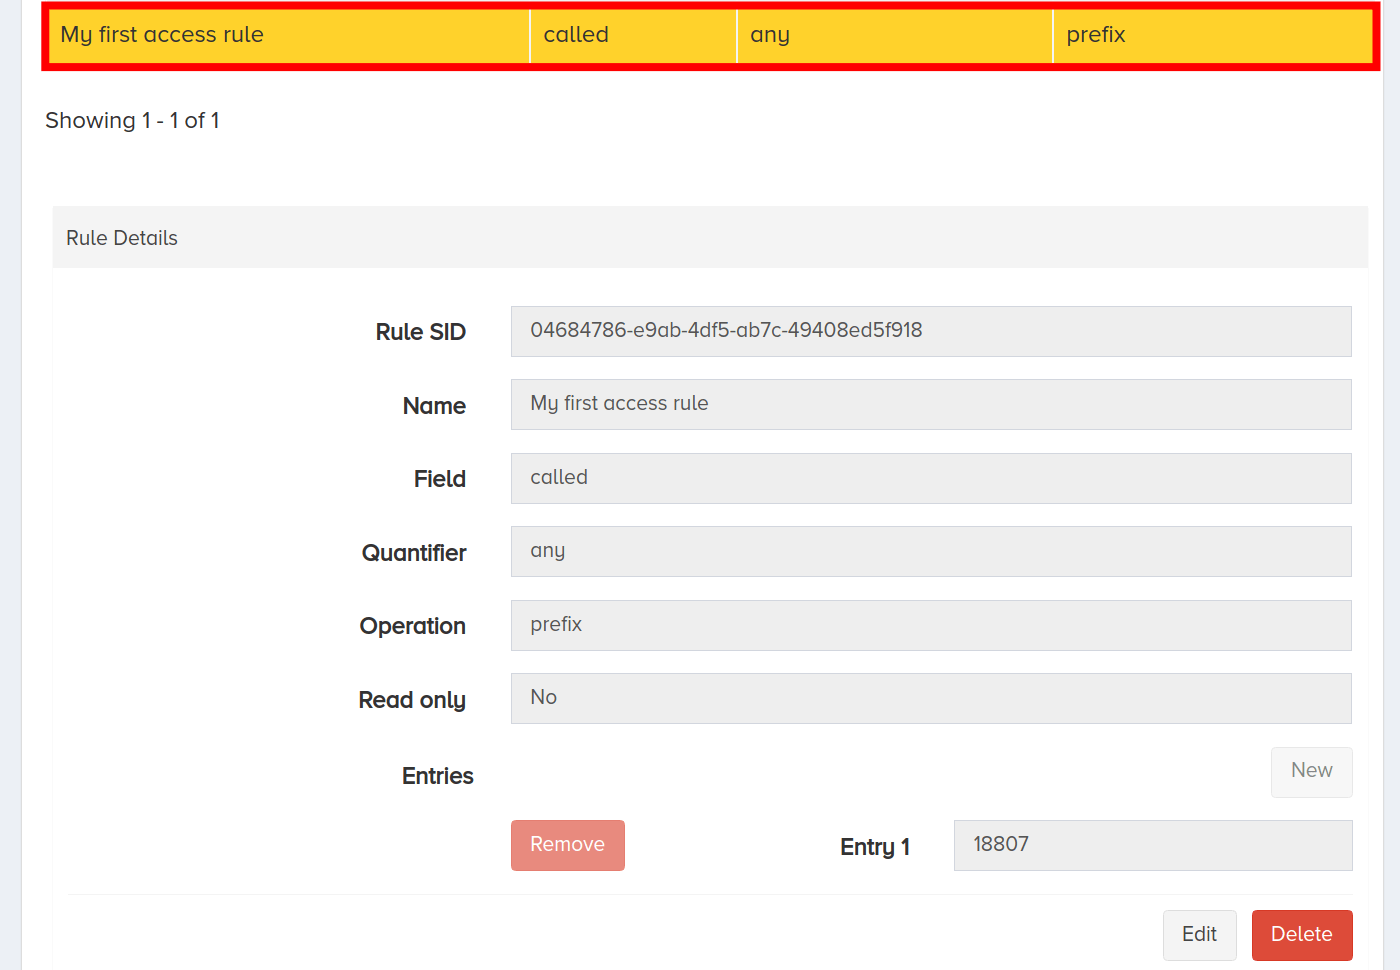
You can see the created rule in the list of available ACRs.
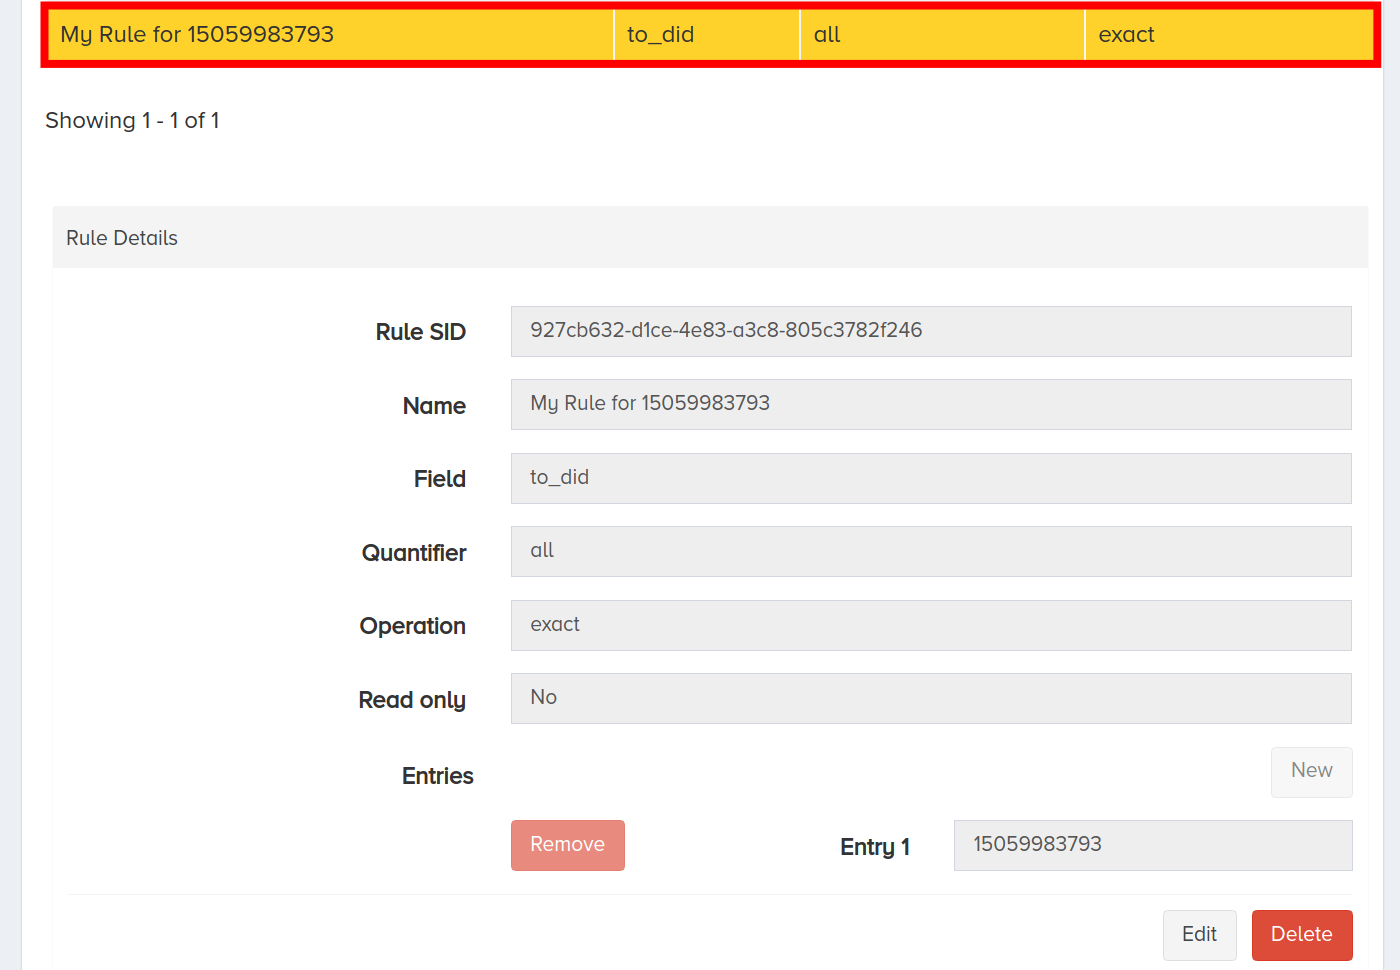
You can create the second rule similar way. Try to do it yourself with the following parameters:
- Name:
My Rule for 15059983793 - Field:
to_did - Quantifier:
all - Operation:
exact - Entry:
15059983793
If everything is correct, you will see an ACR like this in the list of available rules:
Now, let’s use access control lists to associate these rules with our partner account and one of the trunk groups.
II. Create ACLs on Account Level
Now, with the rules ready, associate them with the lists.
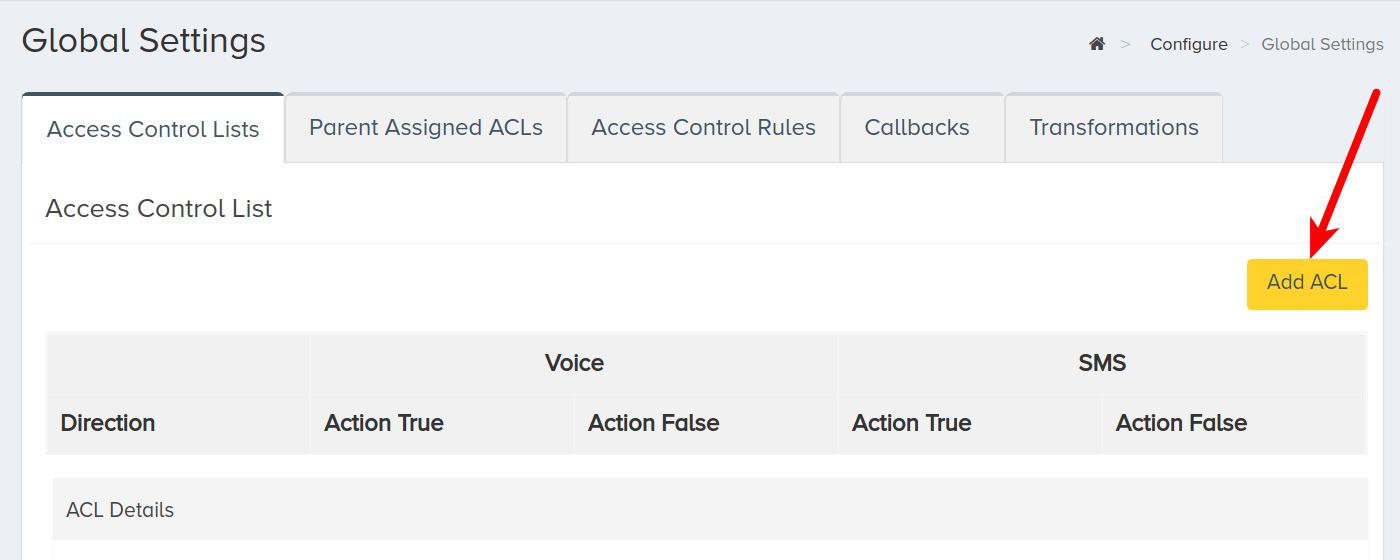
Select the Access Control Lists tab. It is also in the Configure > Global Settings.
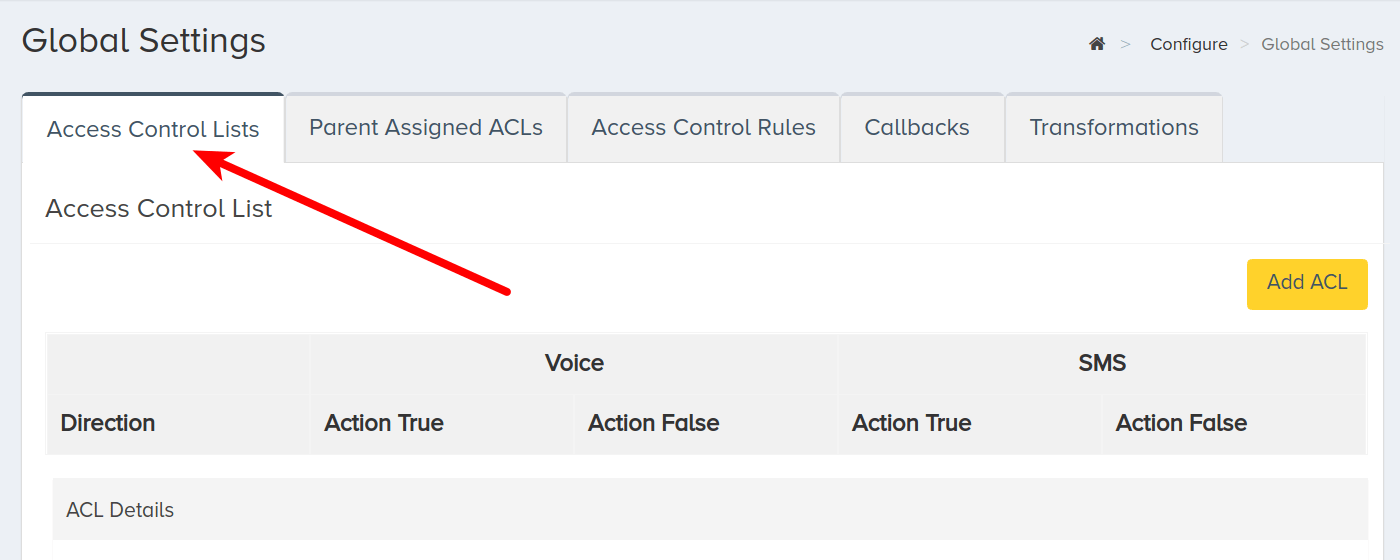
Click Add ACL.
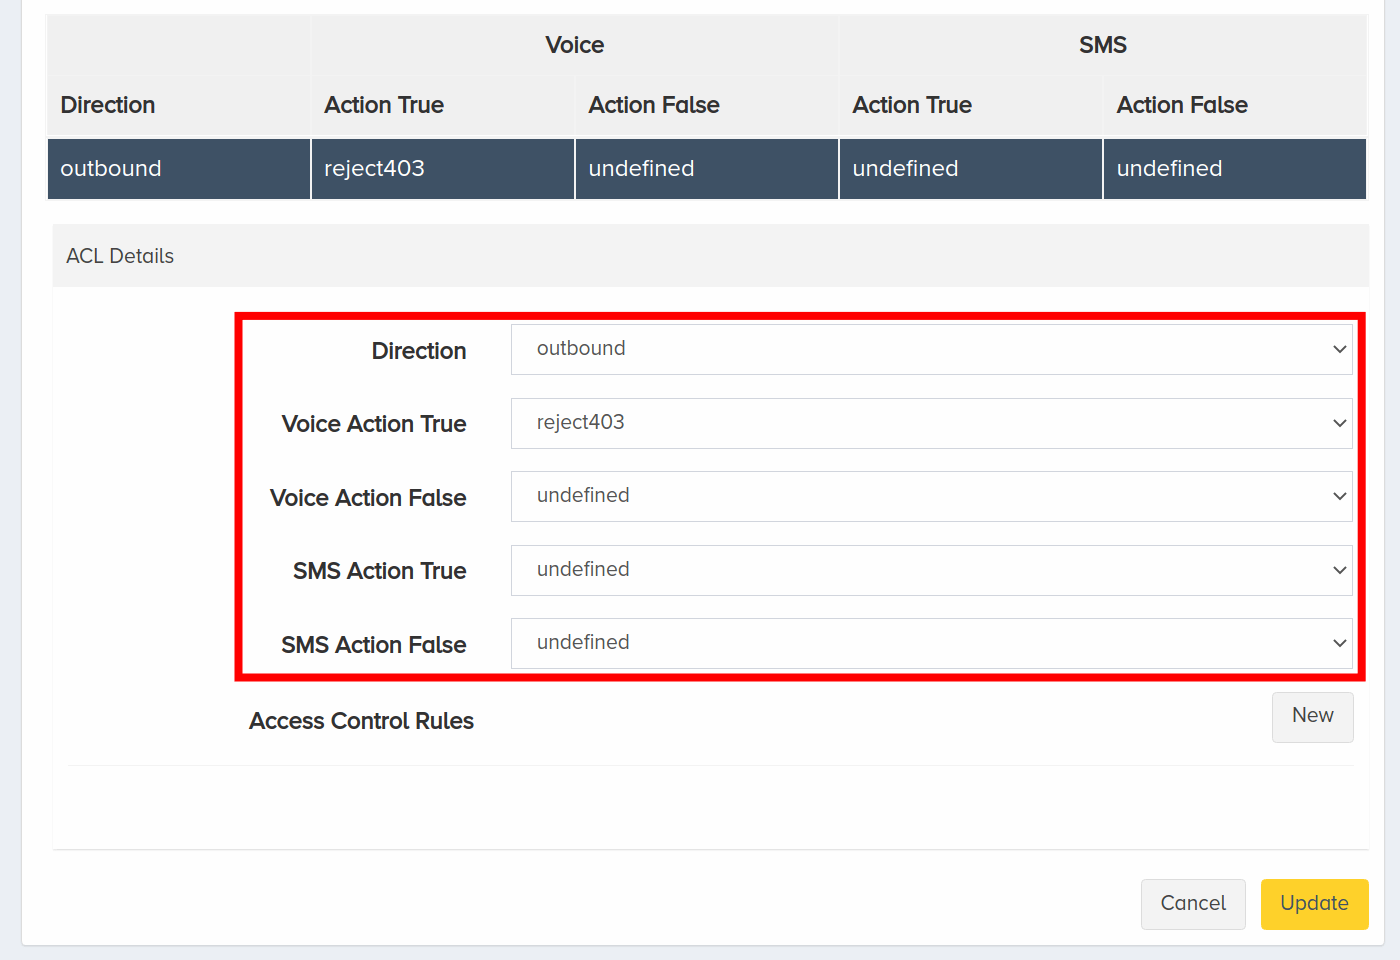
Fill in the following ACL fields:
-
Set the Direction field to
outboundas we want to block only outgoing voice calls and allow all the incoming calls. -
Set the Voice Action True field to
reject403to block the voice calls. -
Leave the Voice Action False, SMS Action True, and SMS Action False fields as they are (set to
undefined) for them to use the default actions set by the system.
Now, add Access Control Rules:
- Click New.
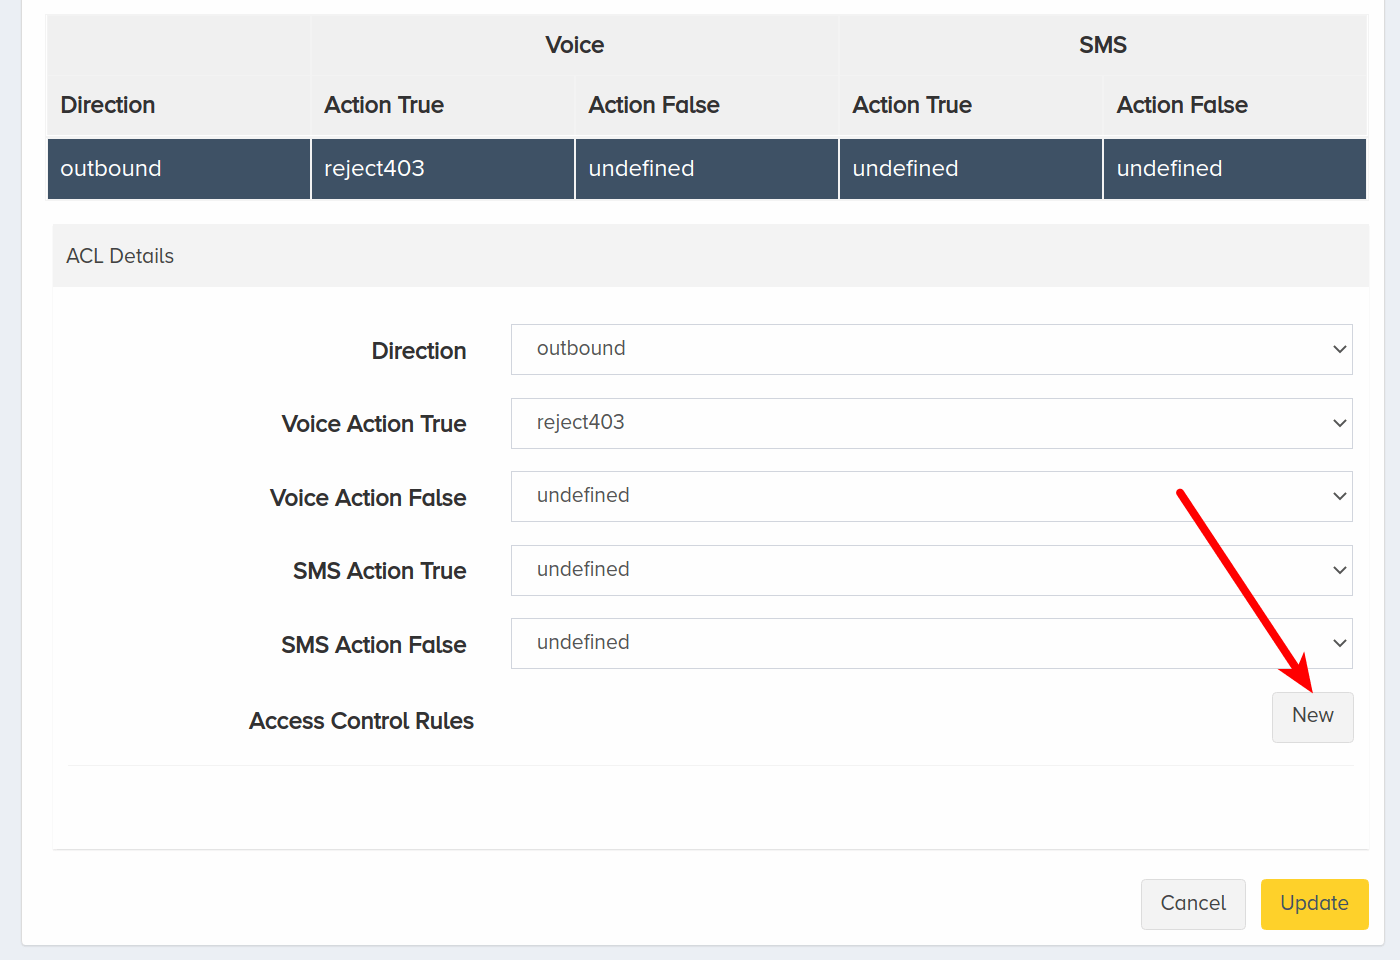
- Select your created ACR from the drop-down list.

You can select not only your own rules, but also the rules created by your parent partner account. These rules are available in the rules list when creating ACLs. You can use these rules as is, no changes are allowed.
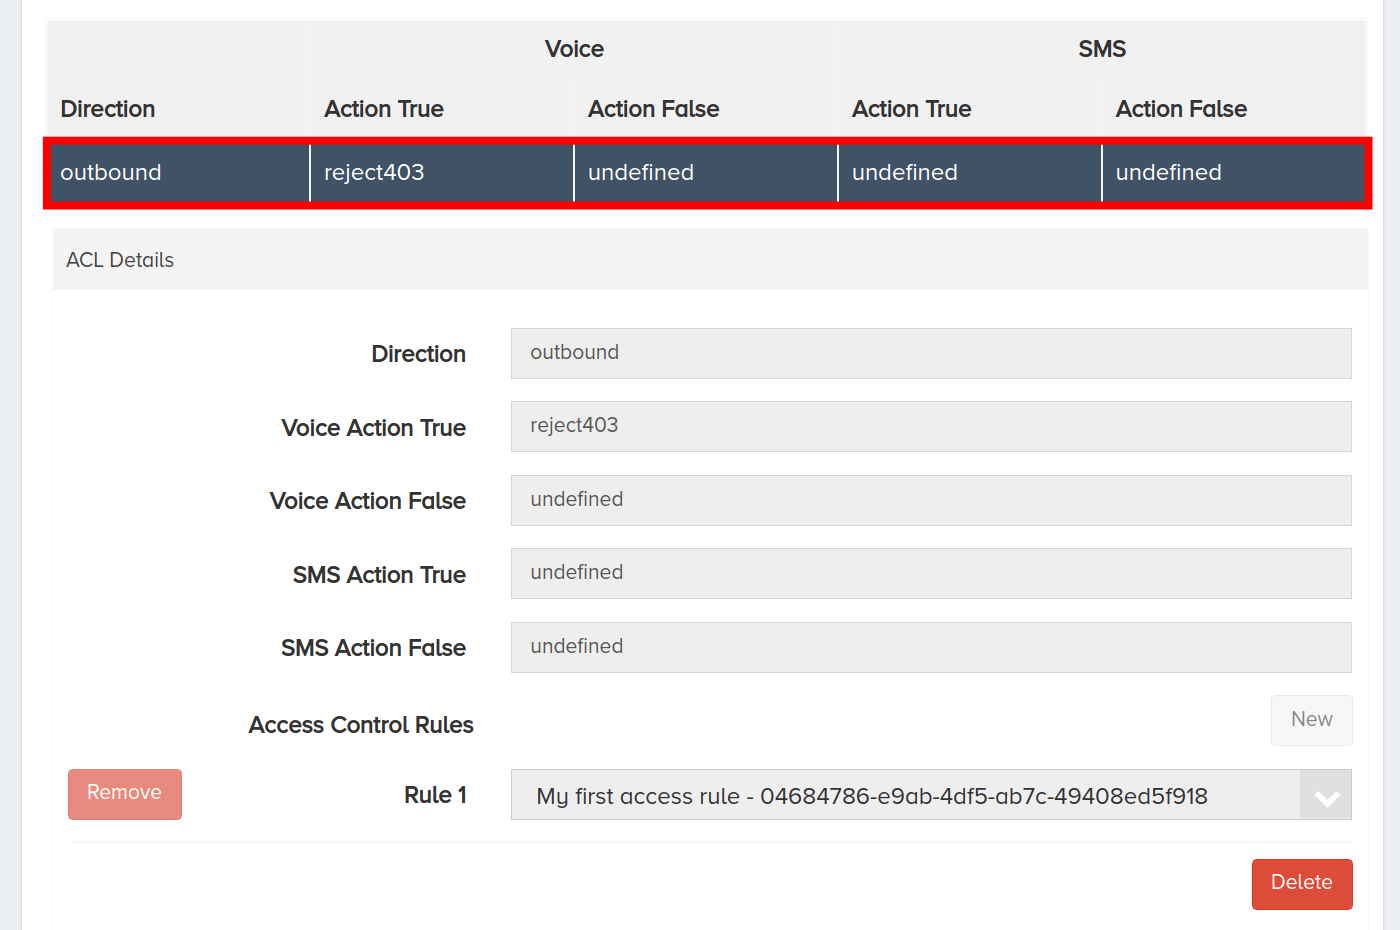
Finally, click Update.
Your new ACL will be present in the list of available access control lists. Click it to see its details.
III. Create ACLs on Trunk Group Level
To set access control lists for a trunk group, click the Configure menu on the left-side menu. Click Trunk Groups.
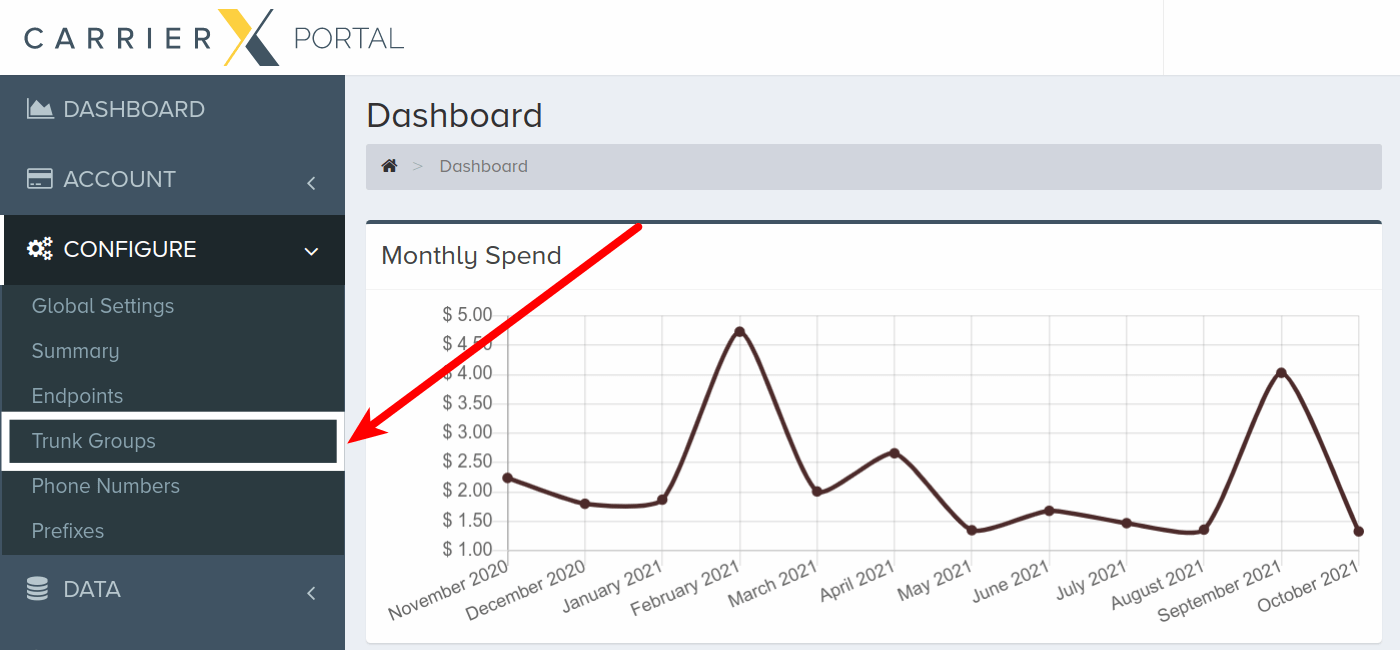
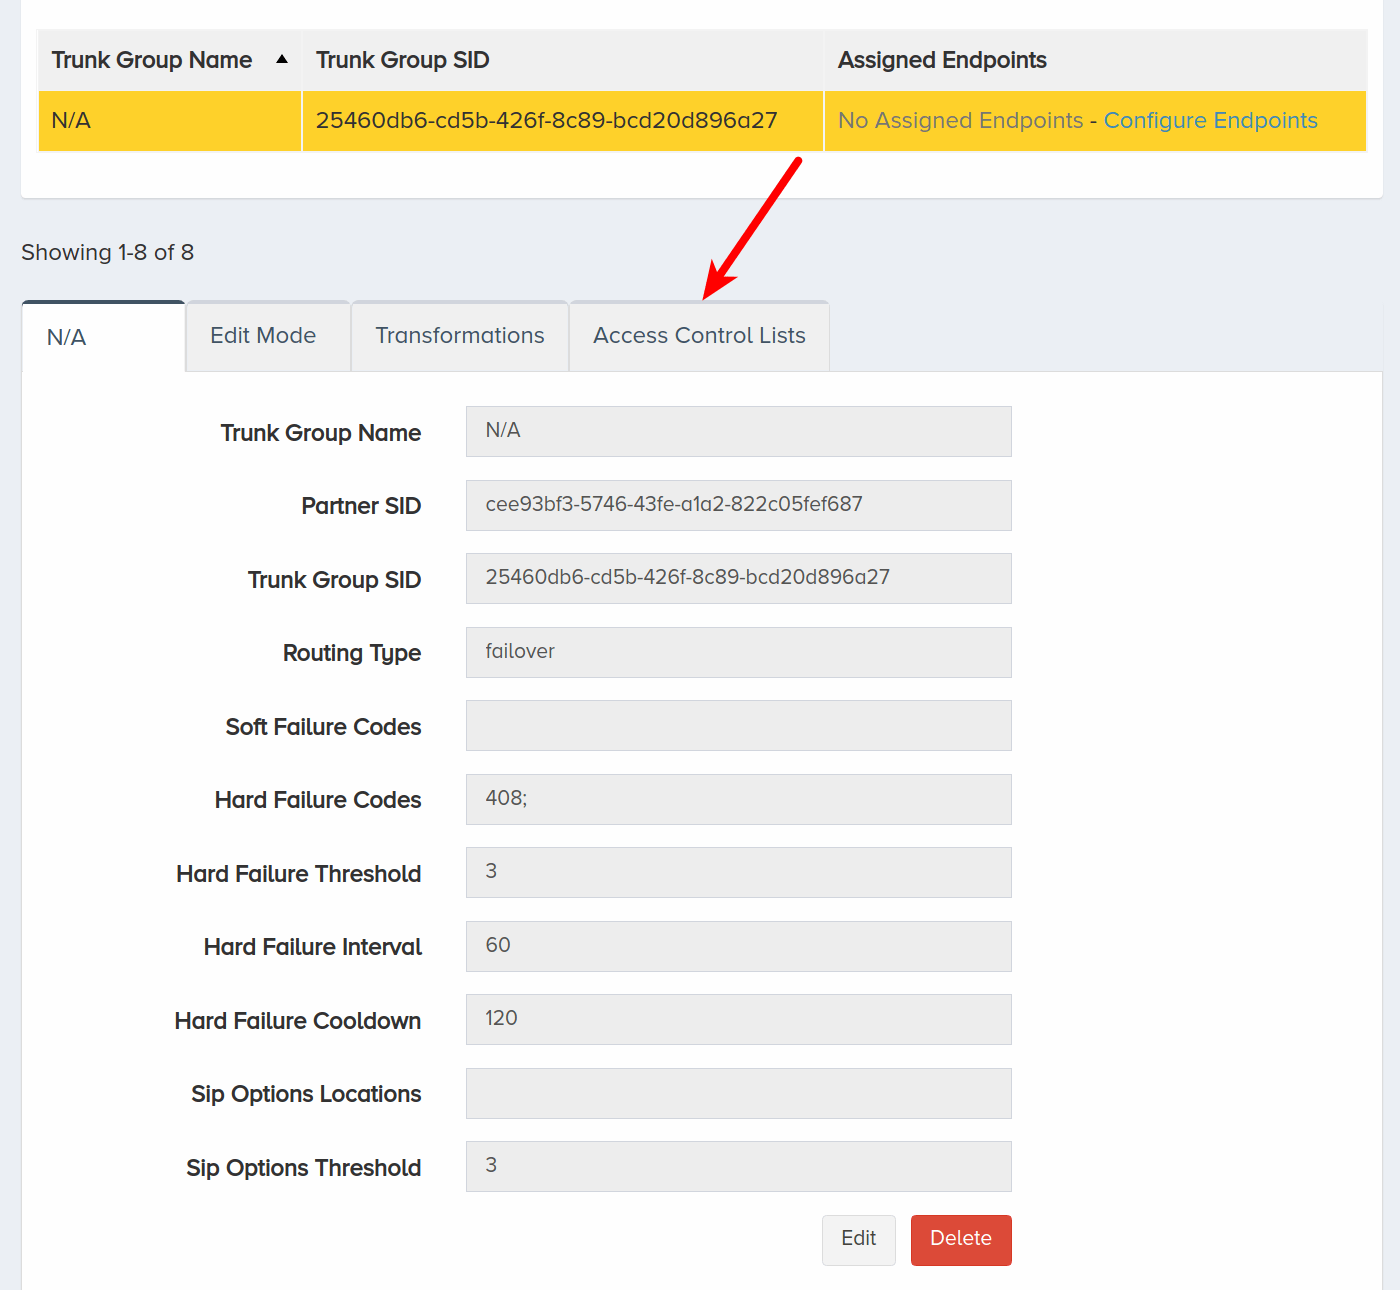
Click the trunk group you want to modify. Select the Access Control Lists tab.
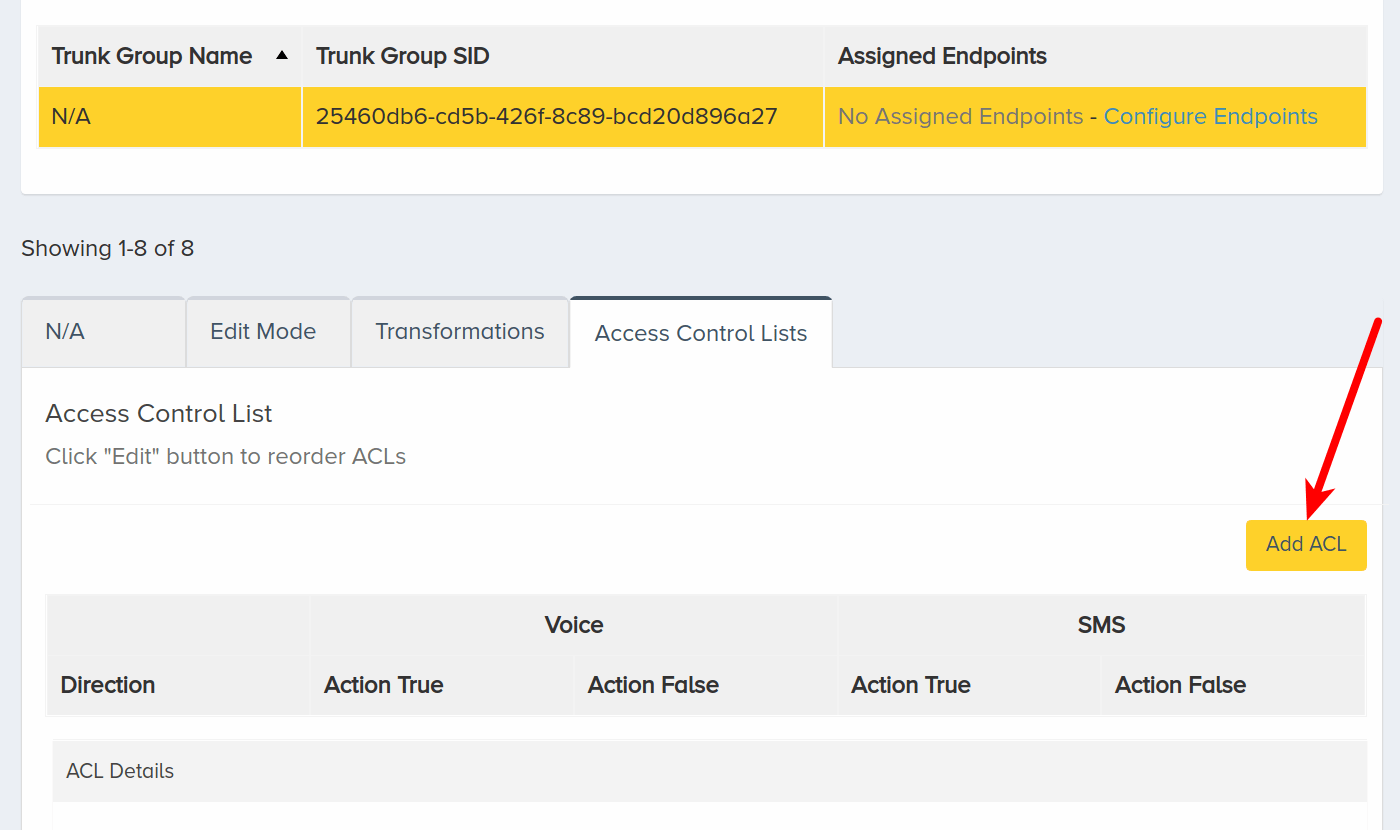
Click Add ACL.
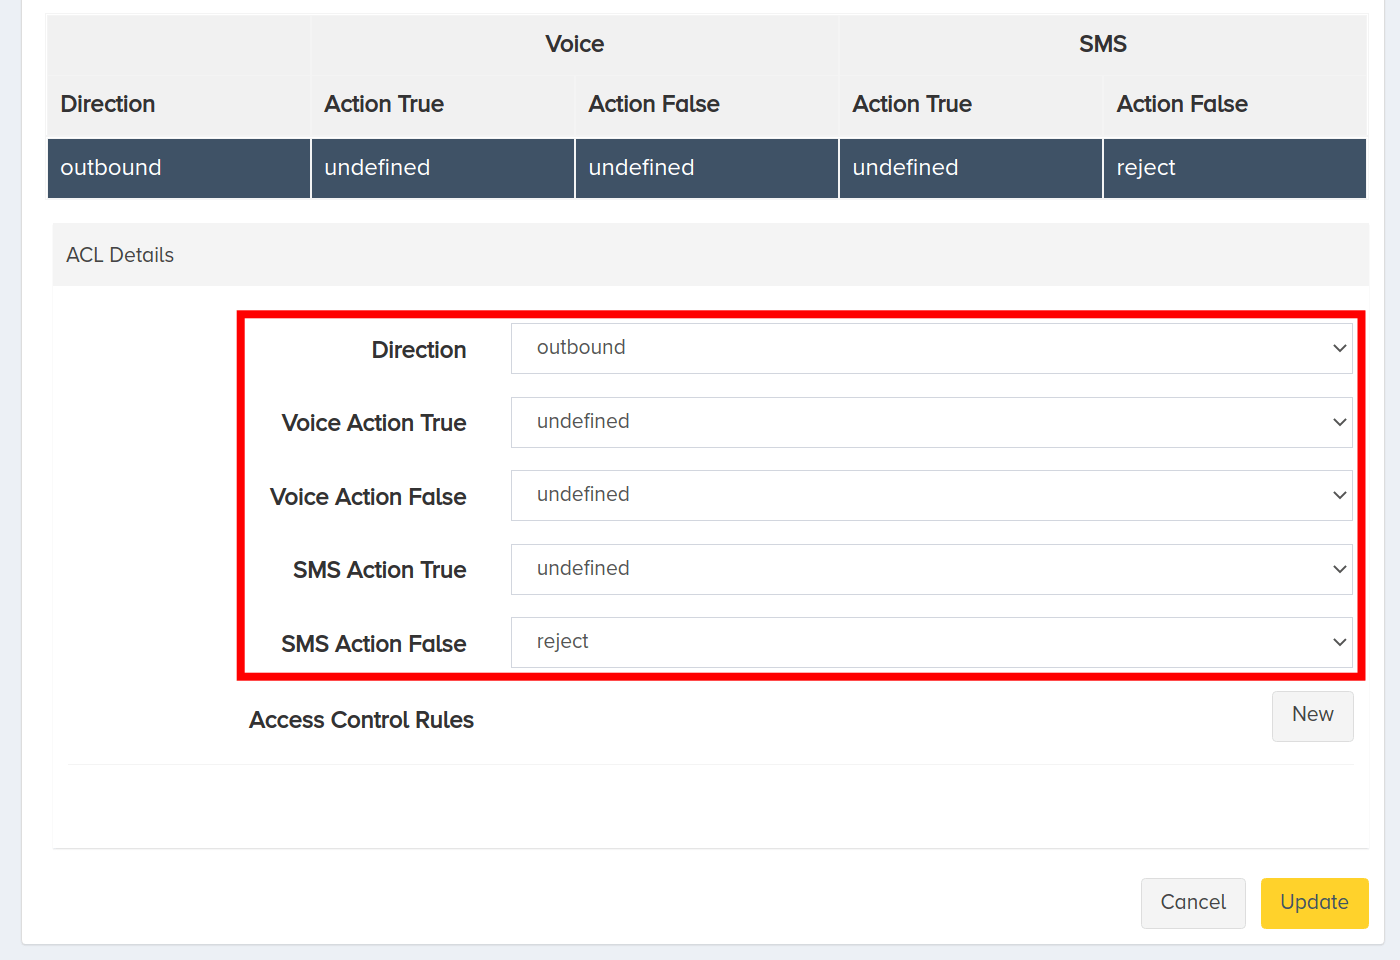
Fill in the following ACL fields:
-
Set the Direction field to
outboundas we want to block only outgoing messages and allow all the incoming SMS. -
Set the SMS Action False field to
rejectto block the messages to any numbers but the one in the rule. -
Leave the Voice Action True, Voice Action False, and SMS Action True fields as they are (set to
undefined) for them to use the default actions set by the system.
Now, add Access Control Rules:
- Click New.

- Select your created ACR from the drop-down list.
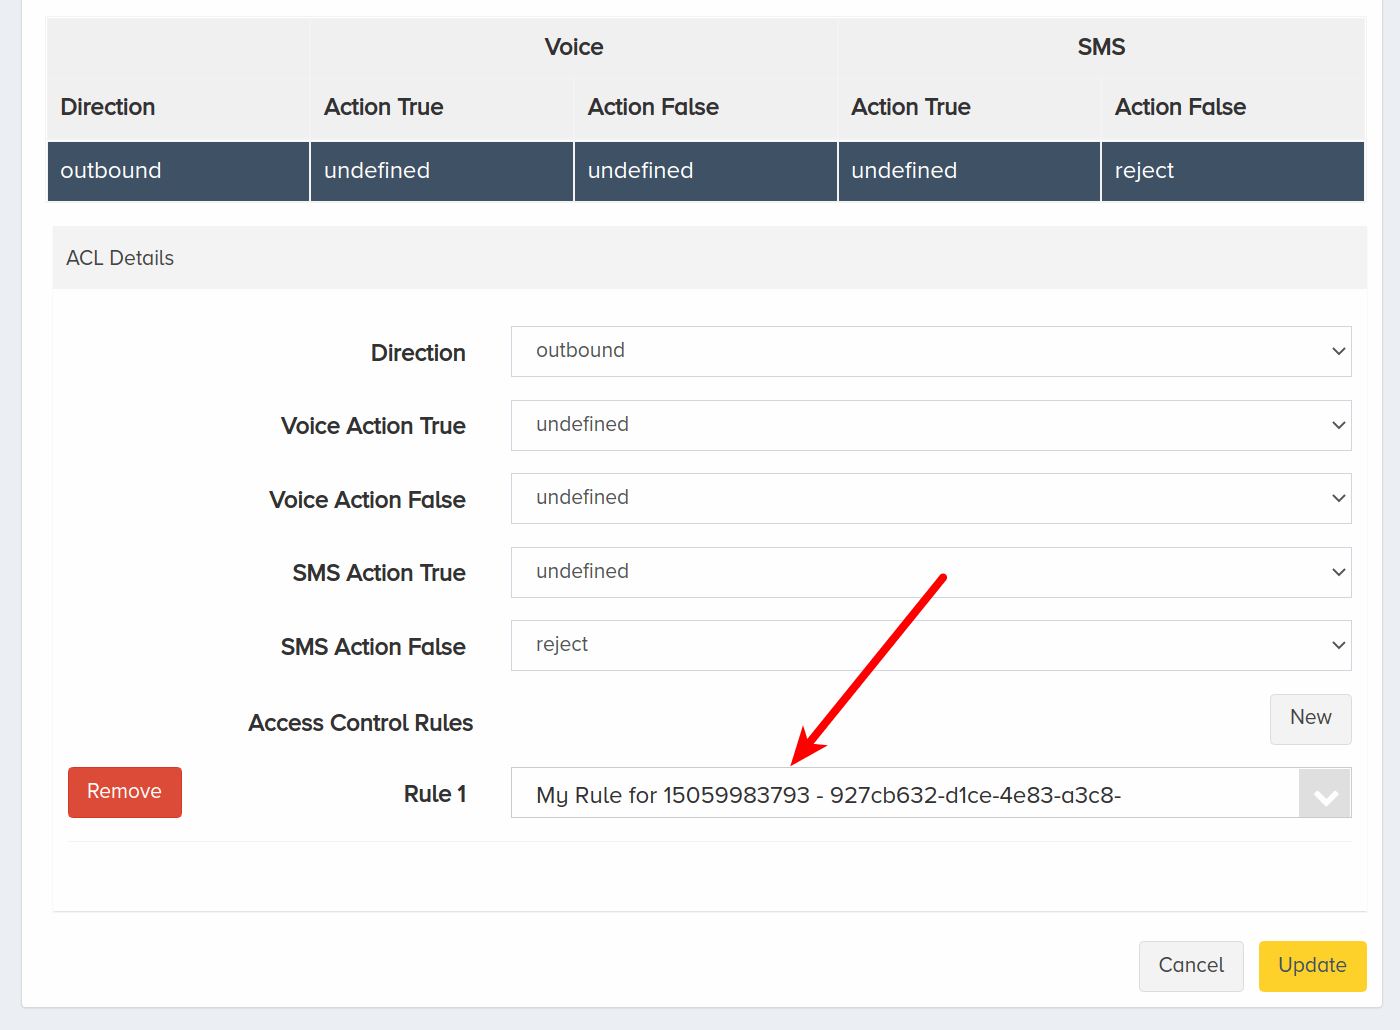
Finally, click Update.
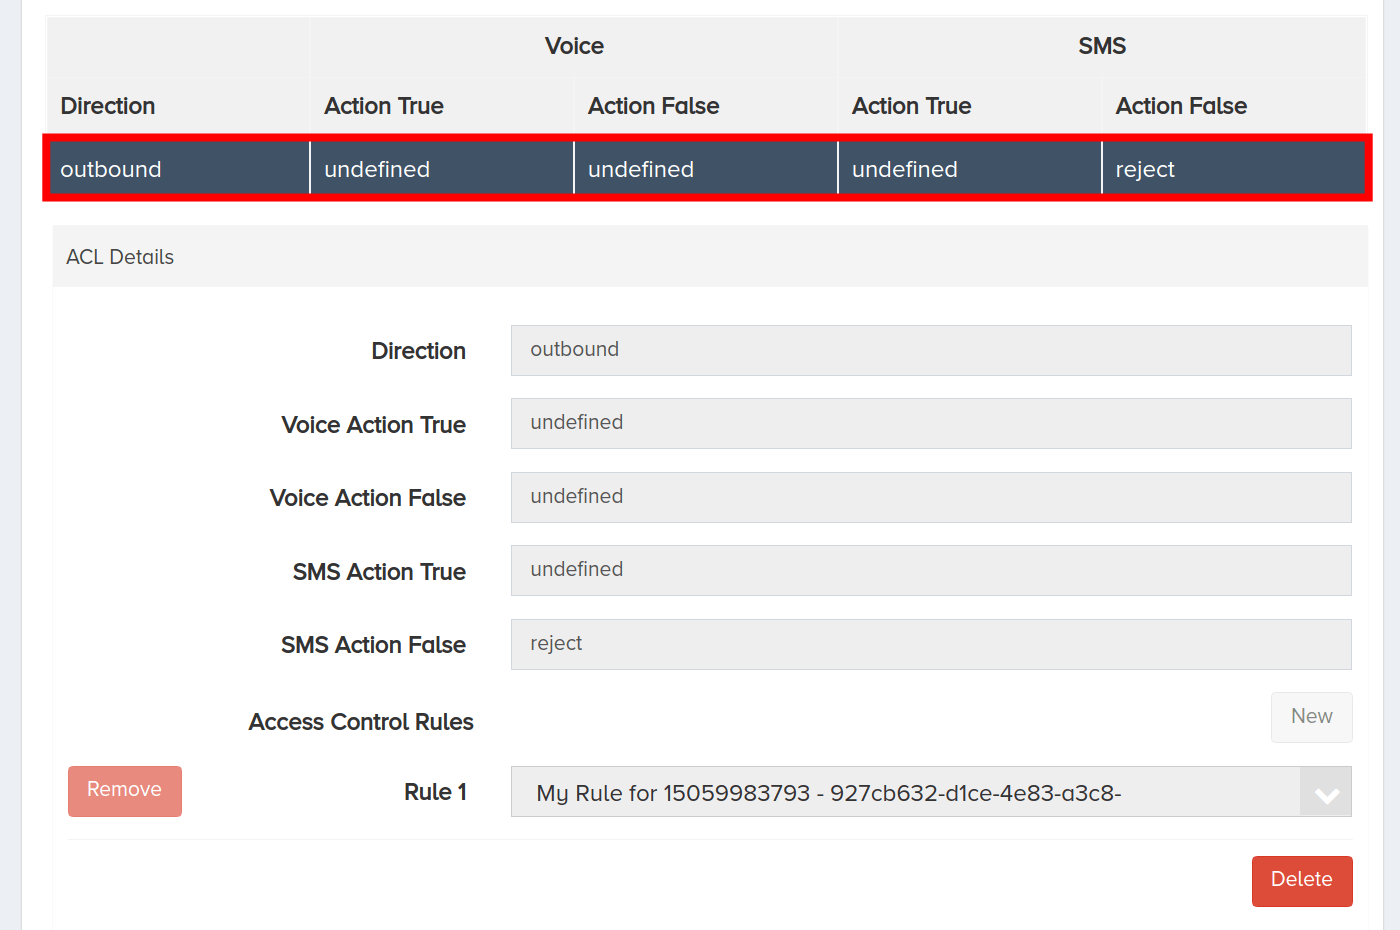
Your new ACL will be present in the list of available access control lists. Click it to see its details.
IV. Next Steps
You successfully created access control rules and combined them into access control lists. You also associated the created lists with your account and trunk group.
Now you can test the created access controls.
Testing Voice Calls
Let’s try and send voice calls to phone numbers to test the voice calls configuration we created:
- First, we make a call to a number, starting with
18807(e.g., 18807425877). The result will be that the call is rejected. - Now, we make a call to any other number which does not start with
18807(e.g., 15162065515). The result will be that the call is allowed and goes through.
Testing Text Messages
Now let’s try and send text messages to phone numbers to test the text messages configuration we created:
- First, we use the endpoint associated with the affected trunk group to send a text message to the 15059983793 number. The result will be that sending the text message is allowed and goes through.
- Then, we send a text message to any other number (e.g., 18882114787). The result will be that sending the text message to any other number is rejected.